

The Essential Sourdough Guide: Understanding & Feeding Your Starter
- Jun 24
- 3 min read
This guide simplifies the essentials of sourdough maintenance, focusing on how to manage the health, flavor, and timing of your starter to fit your lifestyle. If you want to get a head start, you can purchase our Heirloom Sourdough Starter and get it shipped right to your door!
1. Understanding Your Starter
Your starter is a living community of wild yeast (responsible for lift) and Lactic Acid Bacteria (LAB). Unlike store-bought yeast, which is a single strain bred for speed, sourdough relies on the symbiotic relationship between these microbes.
The LAB's Role: It provides the signature tang, naturally preserves the bread against mold, and breaks down gluten and phytic acid for better nutrient absorption.
The Acidity Warning: If you neglect your starter, the LAB population becomes too high and the starter becomes overly acidic. An acidic starter smells vinegary and leads to weak dough and gummy bread.
The Goal: Keep the yeast population strong by feeding it regularly to ensure it never fully deflates or enters "survival mode".
2. The Art of the Feeding Ratio
A feeding ratio is the relationship between the amount of starter, flour, and water in your jar, written as Starter : Flour : Water.
Why Ratios Matter
Timing Control: The more food (flour and water) you give your starter, the longer it takes to peak.
Acidity Management: Higher ratios (like 1:5:5) keep the starter "sweet" and prevent it from becoming too acidic.
Yeast Population: Regular feeding ensures a high population of active yeast cells, rather than dormant or dying ones.
Choosing Your Ideal Ratio (at 78°F)
Ratio | Approx. Time to Peak | Best Use Case |
1:1:1 | 3–4 Hours | Fast bakes or when you need active starter quickly. |
1:2:2 | 5 Hours | A moderate speed for afternoon baking. |
1:5:5 | 6–12 Hours | Ideal for maintenance. Feed before bed to have it ready in the morning. |
1:10:10 | 10–12 Hours | Maximum time between feedings; keeps the starter very healthy. |
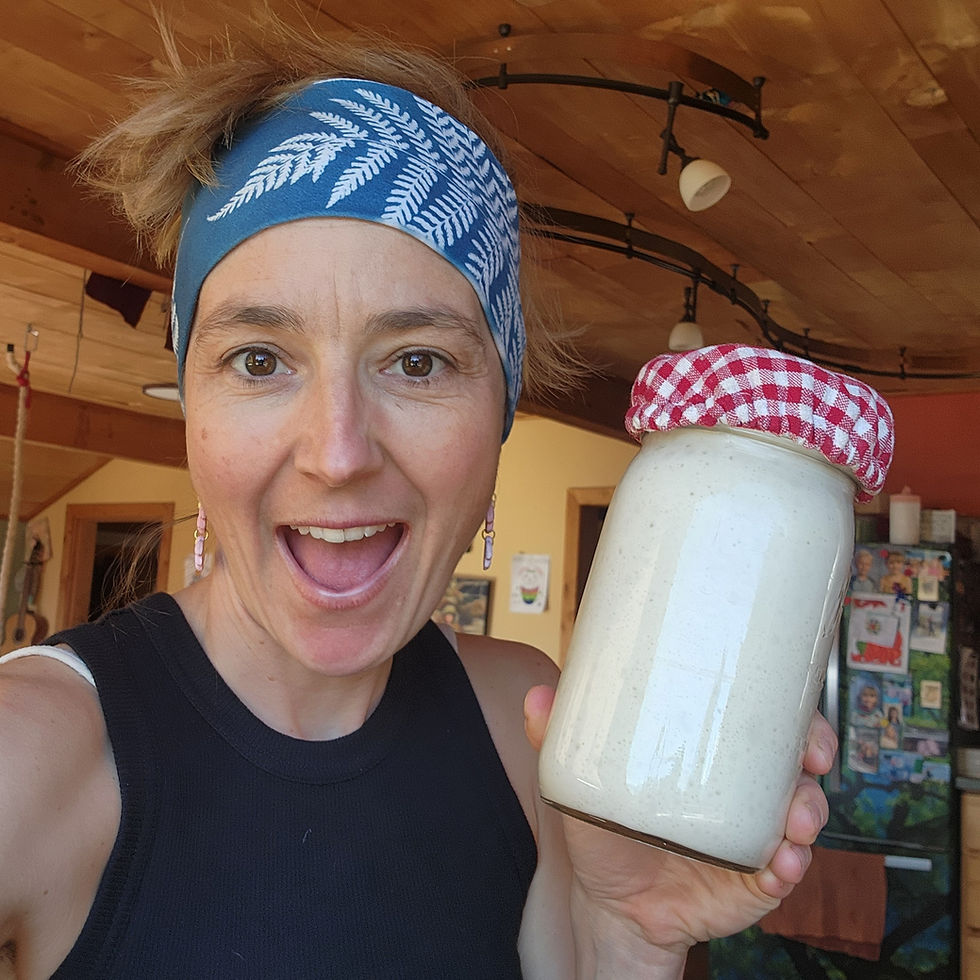
3. How to Feed & Care for Your Starter
Whether your starter is named "Gertie" or "Audrey 2," it needs a consistent routine.
Step 1: Discard. Before adding food, remove most of your starter. This prevents you from having a massive, unmanageable jar of flour.
Mature Starters: Save this "discard" (deflated starter) in a fridge jar for pancakes or crackers.
New Starters: If the starter is under 14 days old, literally throw the discard away, as the microbial balance isn't safe to eat yet.
Step 2: Measure & Mix. Use a scale for accuracy.
Maintenance: 2g starter + 10g water + 10g flour (1:5:5 ratio).
Baking: 12g starter + 60g water + 60g flour (gives you 120g for a recipe and 12g to keep).
Step 3: Observe the Peak. Your starter is ready when it has roughly tripled in size, is bubbly throughout the sides, and has a flattened or slightly caving top. It should also pass the float test (a spoonful floats in water).
Storage Options
Counter Feeding: Best for daily bakes. Feed once or twice a day to keep it at its peak strength.
Fridge Storage: Best for weekend bakes. Cold temperatures "pause" the yeast. Bring it out Thursday night and give it "perk-up" feeds Friday to prepare for a Saturday bake.
Sourdough Home: A temperature-controlled device that keeps the starter cool but not cold, reducing the need for frequent feedings.
4. The 7-Step Baking Process
Feed/Levain: Feed your starter to reach peak activity. (If you want to know our Heirloom Sourdough Starter Activation Protocol, read it here!)
Mix Dough: Mix flour, water, and starter (Fermentolyse) or all ingredients at once.
Strengthening: Perform rounds of stretch-and-folds or coil folds 30–60 minutes apart.
Bulk Fermentation: The most critical step. Wait until the dough is aerated, puffed up, and feels light/pillowy.
Pre-Shaping: Divide and round the dough gently to preserve bubbles.
Final Shaping: Form into a boule or batard with good surface tension.
Second Proof: Either a fast, warm proof on the counter or a long, cold proof (retard) in the fridge for 8+ hours to develop flavor.

Comments